
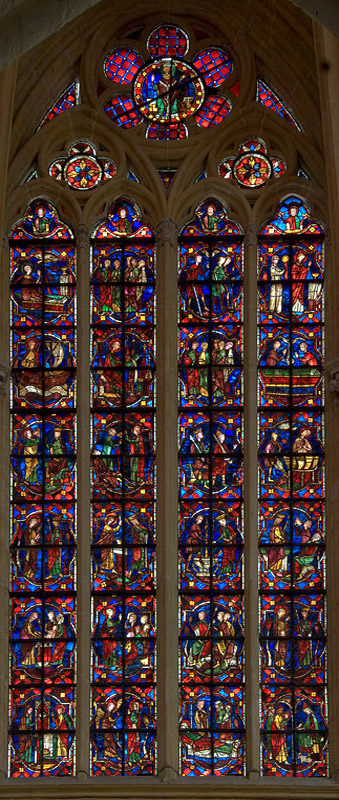
A1 - The Annunciation to Zacharias
B1 - The Annunciation to Elizabeth
C1 - Nativity of John the Baptist
D1 - Zacharias writing his son's name
Second Register:
A2 - The Circumcision of John the Baptist
B2 - John preaching about the coming of the Messiah (1/2)
C2 - Herod's soldiers listen to John preaching (2/2)
D2 - King Herod questioning John about his prophecy
Third Register (start of the story of John the Evangelist):
A3 - John the Evangelist confronting the Emperor Domitian
B3 - John smashes gemstones with a hammer?
C3 - Domitian's sorcerers prepare a poison from deadly serpents
D3 - The potency of the poison is tested on two condemned prisoners
Fourth Register:
A4 - John drinks the poison but is unharmed
B4 - John revives the dead servants
C4 - Domitian condemns John to be boiled in oil (1/2)
D4 - John is unharmed by the cauldron of boiling oil (2/2)
Fifth Register:
A5 - John sailing off to his exile on Patmos
B5 - John beginning work on his Book of Revelation
C5 - The Churches of Asia receiving John's Revelation ?
D5 - Unidentified miracle
Sixth Register:
A6 - Christ tells John of his impending death
B6 - John's followers receiving news of his impending death
C6 - The lame rushing to hear John's last Mass
D6 - John celebrates Mass for the last time before his death
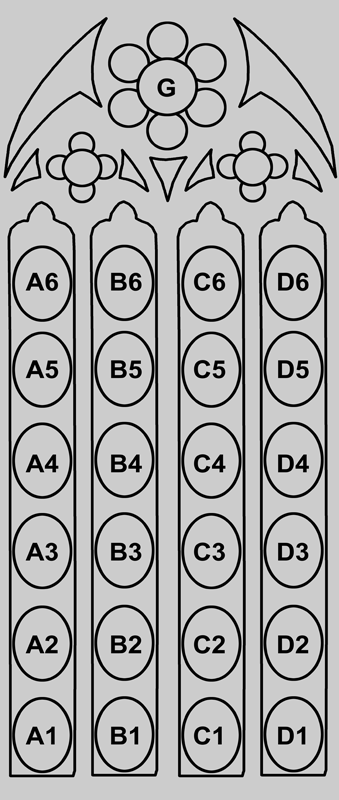
Upper section:
G - Unidentified bishop saint
Some of the scenes from the life of the Evangelist are highly distinctive, suggesting the window's designer was following a source quite different from the usual version of John's life that features in the Golden Legend. For more windows dedicated to John the Evangelist, see Chartres Bay 48 and Bourges Bay 22.